How a Leather Holster Is Made: From Hermann Oak Hide to Your Hip

It starts long before the first stitch
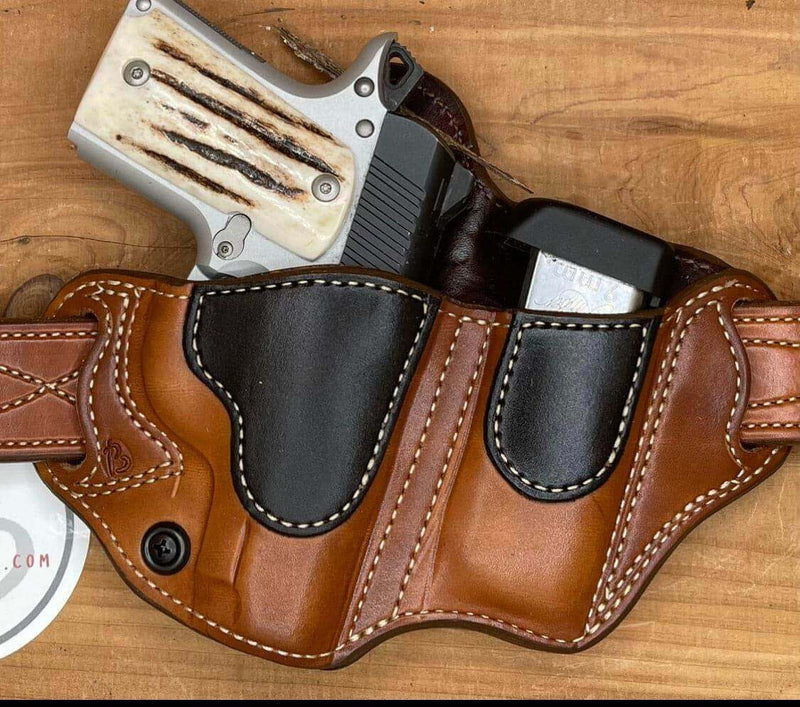
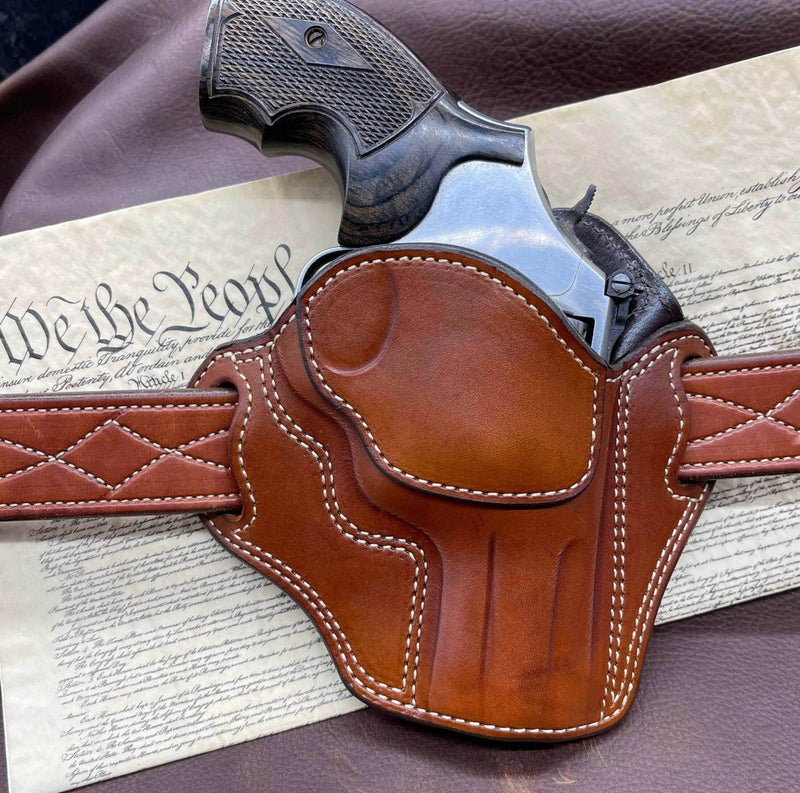
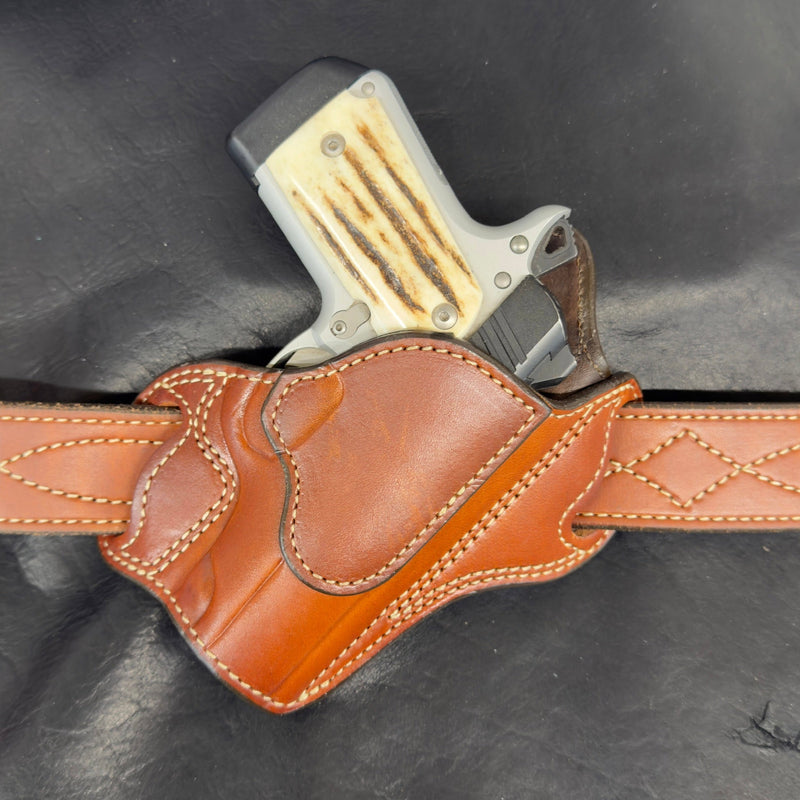
When you pick up a finished leather holster, you see the color, the stitching, and the shape of the firearm worked into the leather. Run a finger along the edge and you feel a smooth surface where several layers have become one finished piece.
What you don’t see is everything that happened before it reached your hands.
The hide had to be inspected. Parts had to be cut, colored, lined, and assembled in the right order. Some seams had to be stitched while the leather was still flat. The holster had to be molded, shaped, finished, and checked before it could leave the shop.
That’s how leather holsters are made at Busted B Leather in Lone Oak, Texas. There are machines involved, plenty of work done by hand, and more than 35 years of leathercraft experience behind the decisions made along the way.
Reading the hide before cutting the parts
A build begins with a full side of Hermann Oak vegetable-tanned cowhide unrolled on the cutting table.
Leather is a natural material, and a hide carries evidence of the animal’s life. Scars, fence marks, and variations in the surface can all be there. Buying a better grade gives us more usable leather, but it doesn’t eliminate the need to look closely.
Before anything is cut, we inspect the side and choose where each part will come from. Placement matters. A mark that adds character to one piece might be wrong for the front of a holster, and an area that looks fine at a glance may need a closer look.
This is one of those quiet steps that doesn’t show up in the finished product—unless somebody skips it.
Once the right areas are selected, steel cutting dies go under the clicker press. Each die follows an established pattern, cutting the parts consistently so they meet properly during assembly.
The press supplies the force. The person placing the die still has to choose the leather underneath it.
Bringing the color and lining together
Some of our leather receives its color here in the shop. Other colors arrive drum-dyed from Hermann Oak, with the dye applied at the tannery.
Each approach has its place. Shop-applied finishes give us control over the look of individual pieces, while drum-dyed leather helps keep color consistent across a side. Natural variation still belongs to the material; leather isn’t going to look like a sheet of printed plastic.
Once the pieces are ready, the smooth leather lining is glued to the outer leather. Both surfaces are prepared, allowed to become tacky, and carefully joined. The layered piece returns to the clicker so the lining and shell share the same cut edge.
That second cut helps everything come together cleanly later.
Belt slots and other openings are punched as the design requires, and any stitching that needs to happen while the piece is flat gets done now. Once a holster is assembled, some areas can no longer be reached by the stitcher. Getting the sequence right is part of getting the holster right.
A good stitch is only the beginning
We stitch our holsters on COBRA industrial leather stitchers from Leather Machine Co. These machines handle the substantial leather layers used in our builds, while the person at the stitcher guides each piece and watches the seam take shape.
But running a seam through the stitcher doesn’t finish the job.
The stitching is backstitched to secure the ends. Thread tails are trimmed and heat-finished where appropriate, and the seams are hammered to help seat the thread and flatten the stitch line.
These details are easy to overlook in a photograph. In your hand, they help the piece feel finished.
That’s true of much of leatherwork. A single step may seem small, but each one contributes to how the holster looks, feels, and holds together.
Giving the holster its shape
At this point, the leather has been cut and assembled, but it still needs the shape that makes it fit the firearm.
The holster is dampened for wet molding, then formed around a firearm we own or a firearm mold we have in the shop. Working the leather by hand brings it around the contours it needs to follow.
Boning adds definition. A smooth tool is worked along selected contours, such as the trigger guard and other features appropriate to the design. Those lines help establish the molded fit and give the holster the shape you recognize in the finished piece.
The amount of visible detail depends on the holster. Some designs show pronounced boning; others have a smoother appearance. Fit, construction, and the design’s retention features work together.
We only make holsters for firearms we own or have the mold for. We do not accept customer firearms for fitting. If your firearm isn’t listed, contact us before ordering so we can confirm whether we can build for it.
The edges take their turn
After molding comes more finishing work.
The layered edges are sanded, shaped, burnished, and painted by hand as the design requires. The goal is a smooth, even edge that feels like part of a single piece rather than a stack of separate layers.
It takes patience to get there. An uneven edge can distract from an otherwise good build, and it’s something you may feel every time the holster rests against your side.
The leather then receives its finishing treatment. Depending on the build, that may include Fiebing’s Tan-Kote or Resolene to help protect the surface.
Before packing, the finished holster is checked against the order. Leather color, stitching, selected options, and left- or right-hand orientation all matter. Loose threads and unfinished details get attention before the piece is bagged with a silica gel packet and prepared to ship.
What handmade looks like in a working shop
There’s sometimes an expectation that “handmade” means every cut and stitch must happen without a machine.
In our shop, handmade means knowing where a machine helps and where the work needs a person’s hands and judgment.
The clicker cuts established patterns. Our COBRA industrial leather stitchers handle the stitching. The sander helps shape the edges. People inspect the hide, position the parts, apply the glue, guide the seams, mold the leather, work the boning, and finish the details.
The tools don’t decide whether a scar belongs on the front of a holster. They don’t feel how the leather is forming around a mold or notice that an edge needs another pass.
Even with decades of experience, developing a pattern for a firearm we haven’t worked with can take multiple paper-pattern revisions. That development happens at the bench before a design becomes an established offering.
Made to order means we build the listed design with the options available for it. It doesn’t mean every design change is offered or that we copy another maker’s pattern.
Choosing how your holster holds
The molded fit is part of the finished holster, but retention features vary by design.
An open-top design may use a retention screw to adjust tension. Other models use a strap with a snap, a button stud, or a thumb break. Each has its own feel and method of release, and the available choices depend on the holster you’re ordering.
A button stud brings a traditional look to a western or field rig. A thumb break provides a strap that releases with your thumb as you establish your grip. A snap strap offers another way to secure the firearm, while an adjustable retention screw suits certain strap-free designs.
Start with how you intend to carry, then look at the features offered on the appropriate holster. Our guides to choosing a leather holster for concealed carry and IWB vs OWB carry can help you work through those decisions.
The work you carry with you
By the time a holster leaves the shop, it has been handled, inspected, and worked through every stage of the build. Much of that effort is easy to miss because a finished piece should look like it came together naturally.
But the clean lining, secure stitching, molded shape, and smooth edges all had to be put there.
When comparing holsters, look beyond the first photograph. Check whether the model fits your firearm, how the edges and seams are finished, what retention features are included, and what service the maker provides after the sale.
Price alone won’t tell you everything. The materials and the work behind them explain far more. Our custom vs factory holster comparison takes a closer look at those differences.
Around here, we put it more plainly: “Cool Shit Ain’t Cheap & Cheap Shit Ain’t Cool.”
From our bench to your belt
A good leather holster should hold its shape, fit the firearm it was made for, and become familiar with use. Like any piece of carry gear, it also needs care and occasional inspection.
If the fit or retention changes over time, contact us before trying to reshape it or applying a treatment. We can help determine the right next step for your holster. Our leather care guide covers routine care, and we stand behind manufacturer defects for as long as you own the piece, unless it has been altered.
If you’re ready to find yours, shop our in-stock holsters for finished pieces that ship within 3–5 business days, or browse our made-to-order holsters to select from the options available for your firearm.
Check the individual listing for fit, compatibility, and current lead time. If your model isn’t listed or you need help choosing, contact us before ordering.
Every finished holster begins with a hide on the cutting table. The work between there and your belt is what makes it ours.
Leave a comment